Wednesday 2 April 2014

Naruto cosplay! Gama-chan the frog! Plus a training scroll!

Hi guys! Back again, so continuing with my Naruto cosplay this week I'll be making Gama-chan the frog and a scroll! Allons-y!

Gama- chan.

In the series, Gama chan is Naruto's frog purse which is "borrowed" by Jiraiya in multiple episodes.
So what do ya need?
Green fabric (I'm using light blue as I misplaced my green)
Red fabric  (for the lining)
black fabric (for the eyes)
Zip or velcro
Stuffing

First cut out the shapes. Then reversing the sides sew all the way around except for a gap leaving a space for turning it back out the right way.


Once you've turned it the correct way, sew up the gap.

Now for the eyes! Cut out two small black circles and sew one onto two of the eyelids.

Next sew the eyelids together to make a pocket and stuff with stuffing.

Now sew them to the head.

Next sew the leg pieces together. Sew opposite sides first, but when you reach the last toe turn it the correct way.


Use two of the legs for the 'paws' and legs for the bottom half.


 Once you've sewn all the legs on, it's time to add the clasp. For this you can use a button and loop (like I'm using), Velcro or a zip.


Once these are in place, it's time to sew it up the sides! Don't sew the entire way up (unless your using a zip!) because you want to be able to put money in!


All done!

Scroll.
Hi, this part is just a little extra that I thought I might as well do. In the world of Naruto, scrolls are widely used for summoning and sealing Justus.
Here what ya need:
Fabric, ribbon and largish bead
Kebab stick (the ones that are like larger cocktail sticks)
Pencil, scissors and ruler (if you are a young kid, please get an adult to help with scissors)

Most of these you can find around the house, but please ask before taking! (I learnt the hard way T^T) let's start!

Get your skewer and mark it so it's around half of its original size. Cut it on the mark. Put one half to the other side.


You can use any colour you want, I'm using black felt. Cut the felt a tiny bit shorter than the skewer. When your done, you want it to be the same size as the inside of a toilet roll tube.


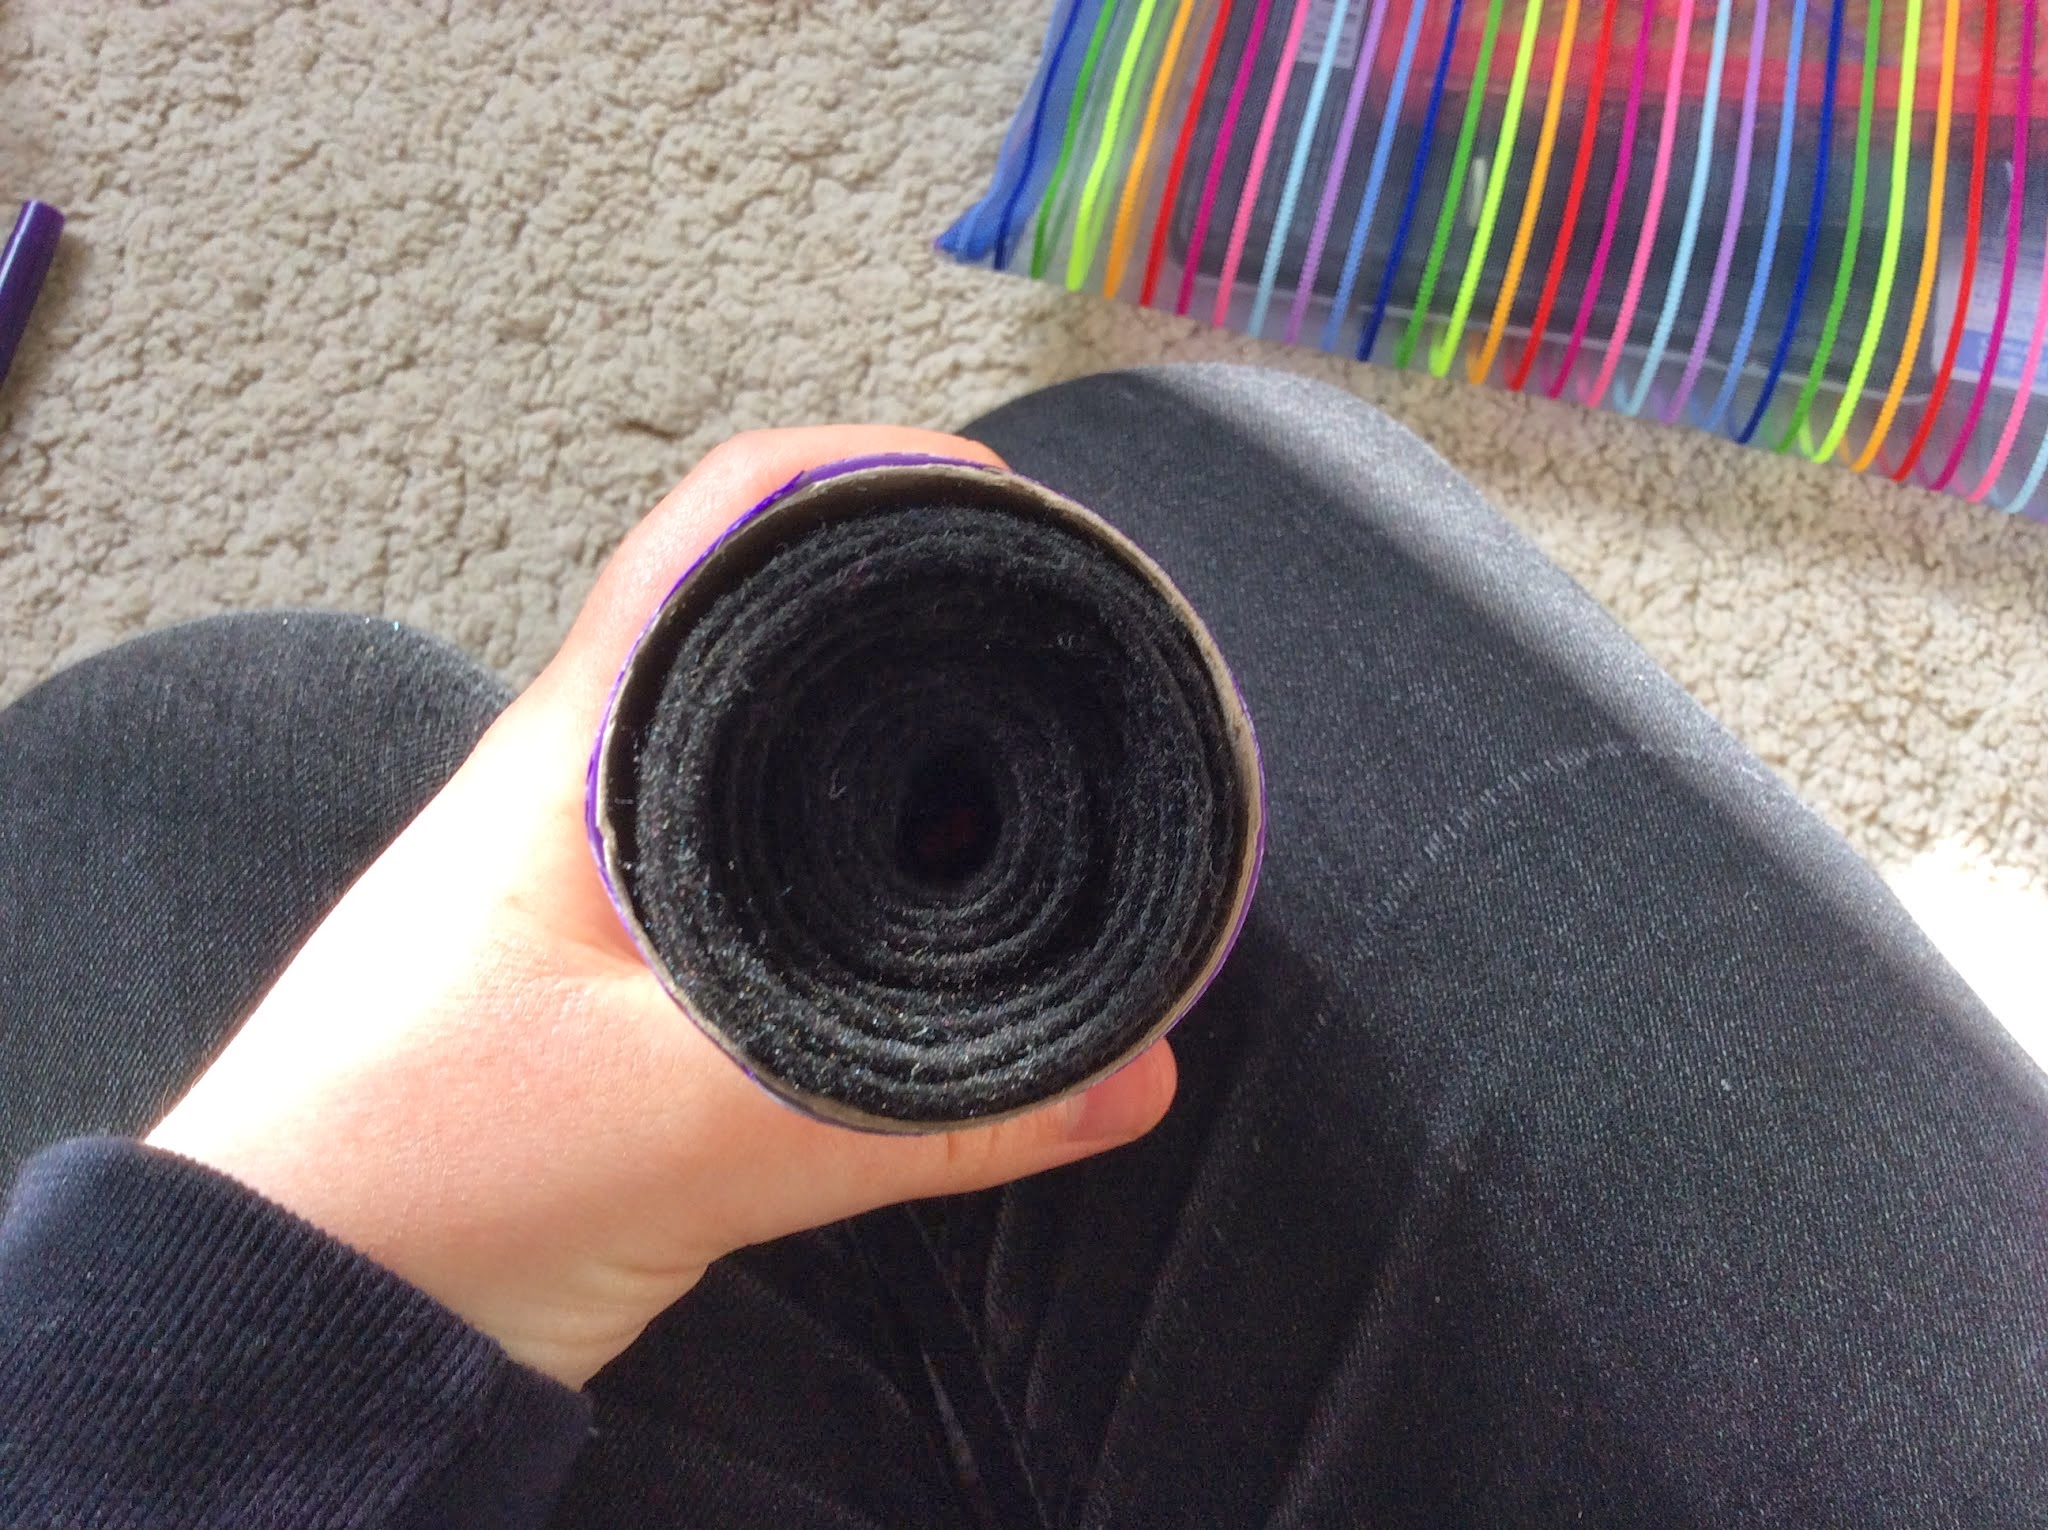
Now bringing back the skewer, sew it firmly to the felt so it doesn't slip around. Now tightly roll the fabric around the skewer.


 Leave a bit at the end to make the puller.

Using the same technique as earlier, cut two other skewers in half. Bunch the five skewers together and bind them together. Then attach the ribbon and bead in the middle. Next sew the puller to the end of the felt.


Roll it up and your done! If you want, you can make a scroll cover, here's what you need:
Toilet roll  tube
Paper
Felt tips
Pencil, scissors and ruler
Glue/tape

First mark the paper the same width as the toilet tube, then draw a line across.
Then draw two more lines to make a middle section. Cut out the band from the bottom line. Mark where it fully wraps around the tube and cut it to the correct length. 
Next, colour in the outer two sections in a colour of your choice. In the world of Naruto, scrolls range  in a variety of different colours, I'm using purple.  
Next in the middle section, you can write anything you want. I'm writing 'summoning' in Japanese (I recommend if writing in Japanese write in pencil and then ink in).

 After that, glue or stick the band around the tube so there are no gaps. Finally, cut the tube so the puller will fit.


Done!

Stay tuned for the next part of my cosplay!

Naruto Shippuden Cosplay! Head band & First Hokage necklace

Okay, so this time I'm doing a Naruto Uzumaki cosplay. Unlike my Ed cosplay, I'm doing this in parts and in a lot more detail (eg. The costume will have every small detail). In this part, I'm doing extras/prep for the cosplay. Let's Go!

Character profile.

As many of you will know, Naruto is a popular anime with Over 600 episodes (both parts). Naruto is a bubbly character, who is extremely loyal to his friends and will keep to his word no matter what. Unfortunately, the nine tailed fox which destroyed the Hidden Leaf Village (Konohagakure) fifteen years ago is sealed inside of him by the fourth Hokage, so in his early life the people of the Leaf Village were very hostile to him.

Ninja Head band.

Okay so the head band. In the series, each hidden village has their own ninja headband (though they aren't always worn as one!) When a student of the Ninja Academy receives their headband they have passed the test and become a Genin (Naruto did the test three times before earning his!).

So, for this you need:
Black statin/silk
Grey felt
Some sort of embroidery thread, I used a metallic embroidery yarn for sewing/knitting from Madeira.

So first cut out a rectangle of grey felt the size of your palm (wrist to where your fingers start). This should be the around the same size as your forehead.  Once your happy, sew the Hidden leaf symbol using the embroidery thread in the centre.


Then cut the black silk to around double the width of your rectangle (don't forget seam allowance and around a centimetre extra for easier sewing later on!) and lengthwise around your head two and a half times (you need some space for tying). Now fold in half, the side you want to keep on the inside  and pin together so the fabric doesn't slip.

Now for the machine work (or if you want you can sew by hand). Start by sewing along the outer edge of  the silk, make sure you leave a seam allowance and don't sew the entire way round as you want to turn it back the right way afterwards. Once you've done this, remove pins and turn it inside out. Fold the final edge in and sew up. Now place the grey rectangle in the middle and pin the four corners. Finally,  sew around the edge of the felt and remove the pins. Ta-Dah! Headband complete!


First Hokage Necklace.

In the first part of the anime, Lady Tsunade gives Naruto her necklace, which belonged to the first Hokage.
So let's have a look on what we need:
Blue, green or clear sea glass (this looks really nice for affect- not to mention free!)
24 gauge wire (gold or silver- it doesn't matter!)
Silver beads (I mean the plastic ones, but if you have the real deal, then use away!)
necklace elastic/wire
Squishys (stopper beads)

So first let's start with the pendant.
First get your wire and cut it to the length you want. Then bend one tip over slightly so it makes a hook and coil some of the wire around it so it makes a loop.


Next get your sea glass and start wrapping the wire around (tight so it doesn't fall out) and then coil the remaining wire around the loop, securing it.

Now get your necklace wire and cut it at your preferred length and start by adding a necklace ring and a squish. Squish the squish with pliers to secure. Next add another squish at a little before the middle and squish with pliers. Now you add a silver bead, the pendant and another bead and squish. Finally add the clasp and squish to finish.


 Now your done! Tune in next time for the next part of my cosplay!